Just Build! Detail Finishing Pass
After structure reads clean — trim, color, light, and camera.
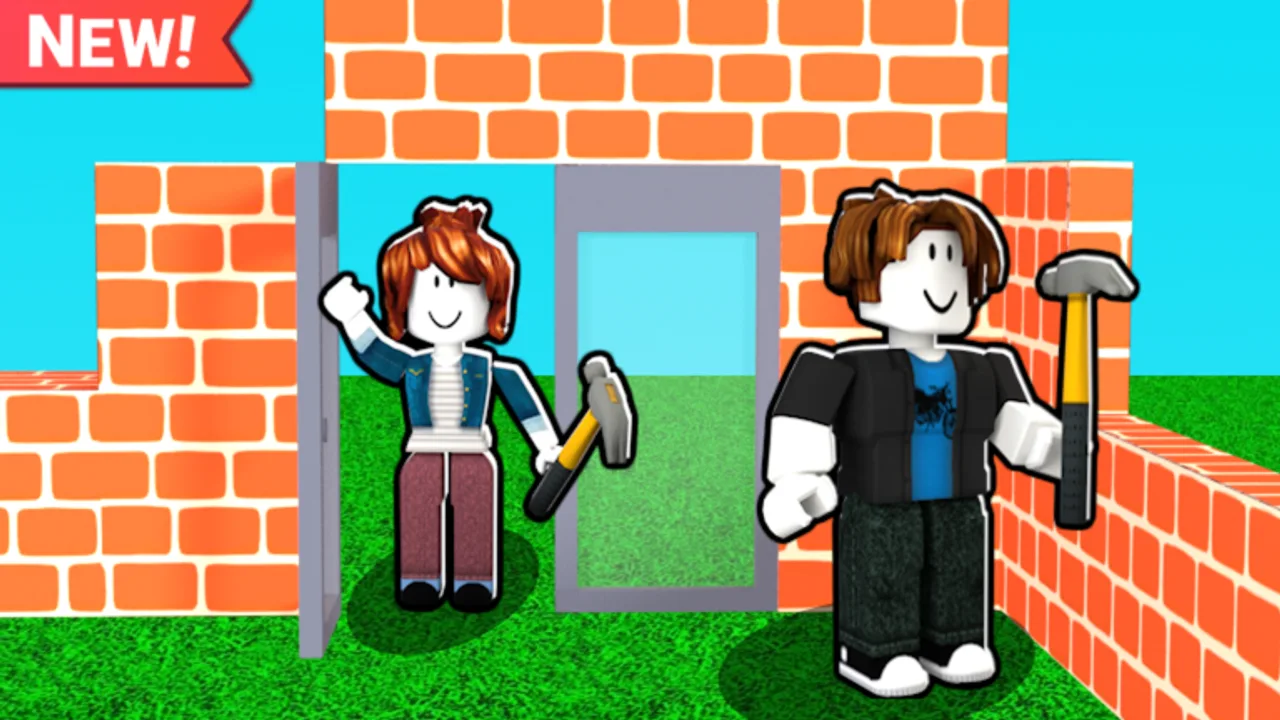
Structure tells viewers what you built; detail finishing tells them you cared. In Just Build! by Awesome Fun Games — a Roblox sandbox with autosave and eight-player co-op — the temptation is to stop when walls exist. That is exactly when the best builders start a second pass: trim, material contrast, color blocking, lighting props, and screenshot angles. This page assumes you already finished a readable shell from Structure First. If your silhouette still collapses without decorations, go back there before buying passes.
The finishing mindset: one pass, one purpose
Detail work fails when it tries to fix bad massing. Finishing passes should enhance a silhouette that already reads from spawn in three seconds. Split finishing into micro-phases:
- Trim — edges, frames, thin accents
- Materials — surface contrast (smooth vs rough read, light vs dark blocks)
- Color blocking — large coherent zones, not per-block rainbow
- Lighting props — lamps, glow accents, night-readability (use what the free kit provides)
- Camera — walk paths and photo corners
Do not merge all five in one chaotic hour. Autosave will happily preserve a muddy facade forever.
Step 1 — Trim without shrinking rooms
Trim is the thin layer that sells craftsmanship: window sills, door frames, roof lip, corner quoins, baseboards. Rules:
- Trim one elevation at a time (front facade before side yards)
- Keep trim colors adjacent to wall neutrals — contrast, not neon noise
- Stop trim at logical breaks (porch columns, not random mid-wall stripes)
In co-op, assign one detail lead for trim so eight players do not frame the same window twice. Cleanup lead removes duplicate sills afterward.
Step 2 — Material read using free blocks first
Just Build! does not require paid packs to imply materials. Suggest wood, stone, glass, and metal by value and hue, not by spamming special parts:
- Darker bands for foundation “stone”
- Lighter plates for stucco or plaster
- Recessed darker squares for window glass illusion
- Horizontal stripes for siding rhythm
Theme packs like Beach Pack or Winter Pack add authentic props later — they do not replace material logic on the shell. Browse Theme Builds once the free read works.
Step 3 — Color blocking that survives screenshots
Color blocking means large zones of related color before micro-accents:
- Body neutral (gray, warm white, sand)
- Roof or accent secondary
- Door or feature pop tertiary
Limit yourself to two accents plus neutral on the first finishing night. Paint Blocks (~30 Robux) accelerates recolor if you own the pass — see All Gamepasses for catalog context — but disciplined first placement beats repainting chaos.
If the house palette is still undecided, steal restrained schemes from House Ideas rather than inventing thirteen colors at once.
Step 4 — Lighting and night readability
Even in daytime sandboxes, “lighting” often means props that imply lamps and contrast pools:
- Porch lanterns flanking the entry guests actually use
- Interior glow visible through windows (simple bright blocks behind glass illusion)
- Path lights along the walk from spawn to door
- Avoid placing bright accents on rear walls the spawn camera never sees
Co-op groups should stand at spawn together and ask: “Where does the eye go?” If the answer is a random neon spike, move or mute it.
Step 5 — Screenshot angles and visitor paths
Finishing includes composition. Before you call the build done:
- Walk from spawn to main entry without jumping
- Capture one hero shot at eye level and one slightly elevated corner shot
- Clear one foreground zone — grass, plaza, or driveway — so the structure is not clipped by clutter
- Remove trial props from the camera cone
The embedded video focuses on fast visual upgrades — notice how small trim and contrast changes alter perception without rebuilding the whole house. Apply that discipline to Just Build! facades, not only generic Roblox tutorials.
Free-first tool order
- Delete clutter that fights the silhouette
- Align trim on the showcase elevation
- Lock palette (free placement or Paint Blocks if owned)
- Add lighting props on the visitor path only
- Screenshot, then optional theme props
Higher Build, coils, Grapple Hook, Flying Cloud, and Flying Carpet help reach detail heights — they do not replace taste. Ban Hammer is irrelevant to finishing; it is a premium novelty pass, not a detail brush.
Co-op finishing etiquette
Finishing is where eight players collide. Use Build Etiquette habits:
- “Finishing front only — hold side yard”
- “Color lock: sand body, slate roof, teal door”
- “Screenshot in five — no new props on plaza”
Run the Build Checklist as a shared tick list so finishing tasks are visible, not argued.
Common finishing mistakes
| Mistake | Why it hurts | Fix |
|---|---|---|
| Trim before walls are square | Crooked frames amplify errors | Square shell first |
| Rainbow micro-blocks | Silhouette noise | Color blocking pass |
| Props before paths | Guests clip furniture | Walk test, then decorate |
| Rear-wall effort only | Spawn shot still flat | Finish camera-facing elevation |
| Buying theme packs early | Pretty clutter, weak shell | Free material read first |
When to spend Robux on finishing
- Paint Blocks when recolor iterations are your bottleneck
- Beach / Winter Pack when the exterior theme is locked and you need authentic set dressing
- Mobility passes when finishing rooflines on huge footprints — compare on Best Value
There are no promo codes that substitute for passes (Codes Hub). Buy one pass, finish one project, then evaluate.
Thirty-minute finishing drill
Minutes 0–8: delete non-hero clutter and align one facade. Minutes 8–15: trim pass on that facade. Minutes 15–22: color block body/roof/door. Minutes 22–27: path lighting props. Minutes 27–30: spawn screenshot and note tomorrow’s second elevation.
Repeat on the next session for side yards and interiors. Autosave rewards repeated small finishes more than one exhausted all-nighter.
Detail finishing is how Just Build! projects graduate from “blocks exist” to “I want to join that server.” Structure first, finish with intent, screenshot with a guest’s eyes — then push themes and optional passes where they actually show.
Frequently Asked Questions
Quick answers to the most common questions.
When should I start detail finishing?
After footprint, shell, roof, and circulation read clearly from spawn. If the silhouette fails without props, fix structure first.
Do I need Paint Blocks to finish a build?
No. Careful free placement works. Paint Blocks (~30 Robux approximate) helps when you recolor often during the finishing pass.
What is color blocking in Just Build!?
Large coherent color zones — body, roof, accent — before tiny rainbow accents. It keeps co-op edits readable in screenshots.
How many players should work on finishing at once?
One detail lead per elevation or zone. Too many simultaneous trim edits create duplicate frames and delete conflicts.
Should I buy Beach Pack before trim work?
Usually no. Nail free material read and trim on the shell first, then add theme props when the camera-facing facade is done.